The Contemporary Buttercream Bible (9 page)
Read The Contemporary Buttercream Bible Online
Authors: Christina Ong Valeri Valeriano

C
95
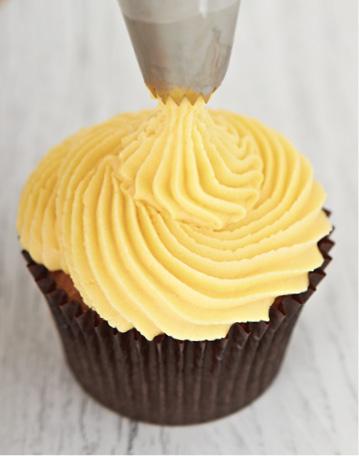
This swirl is piped with a French star nozzle in the
same way as described above, but with the piping
bag and nozzle held vertically above the cupcake.
96

Open star nozzle (Wilton 1M)
97
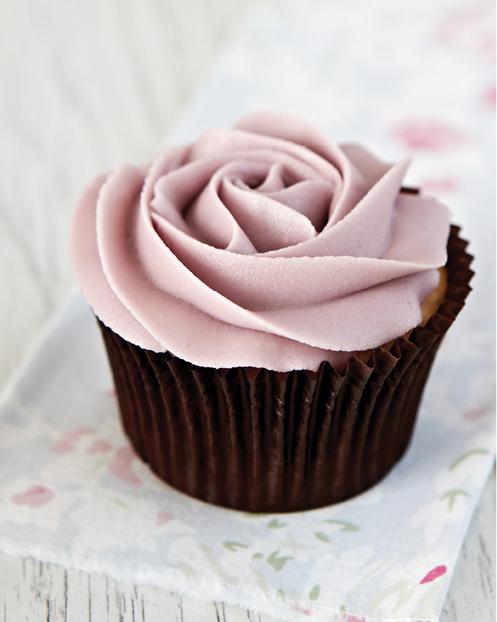
Closed star nozzle (Wilton 2D)
98

French nozzle
99
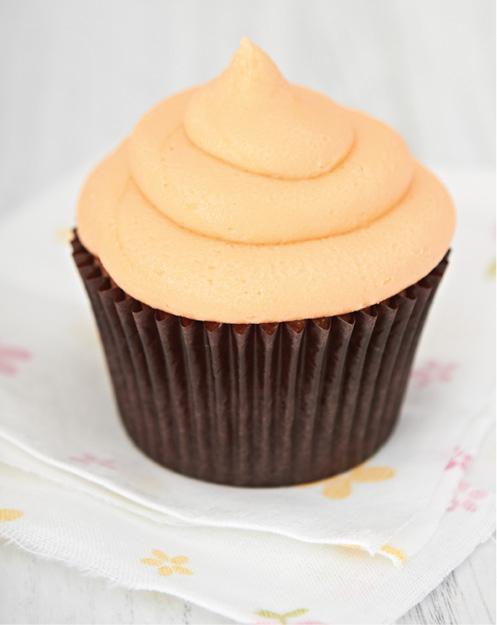
Simple round nozzle
100
Piping Textures and
Patterns
Piping buttercream is the essential skill to learn if you want to use this delicious decorating medium
on your cakes. Strangely it’s often mistakenly
thought to be difficult, but this couldn’t be further from the truth. In this chapter we’ll show you how
to create amazing effects, from ruffles to
basketweave, using some really easy techniques, all
achieved with a humble piping bag and a handful of
nozzles.
101
102
Ruffles
Ruffles are such an easy and effective technique for
creating elegant cakes and can be achieved using
various different piping motions – back and forth,
up and down and zigzag. All can be done quickly
and each will create a slightly different effect. In the Back and Forth Ruffles project, we’ve given the
technique a little twist with zigzag panels of ruffles and ombre shading. You’ll see how to create a
striped two-tone effect in the Up and Down Ruffles
tutorial, and how a wiggle plus a squeeze makes a
squiggle in the Squiggly Ruffles tutorial.
Back and Forth Ruffles
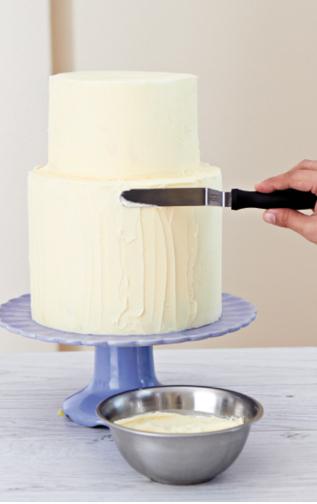
1 Cover your cake with thin layer of buttercream, as
described in the Buttercream Basics chapter. The
surface does not necessarily have to be smooth, as it will be covered by the ruffles (A).
103
A
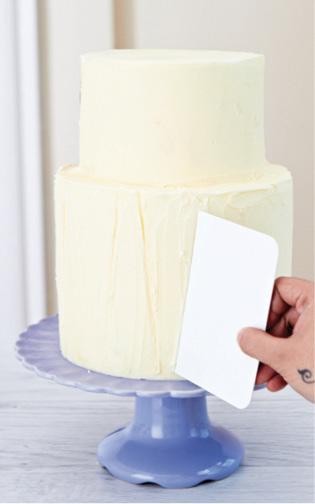
2 Using a side scraper or ruler, measure and mark
equal sized narrow triangles around the surface of
the cake (B). If you are using alternate colours for
your ruffles, make sure you divide the cake into an
equal rather than odd number of triangles.
104
B
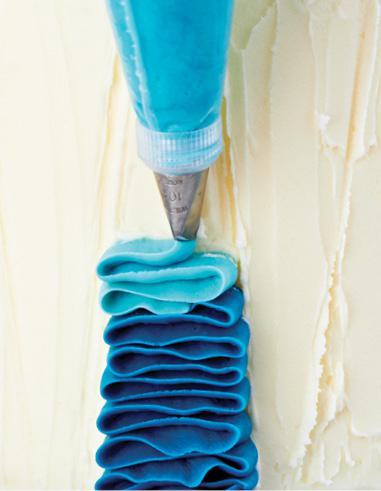
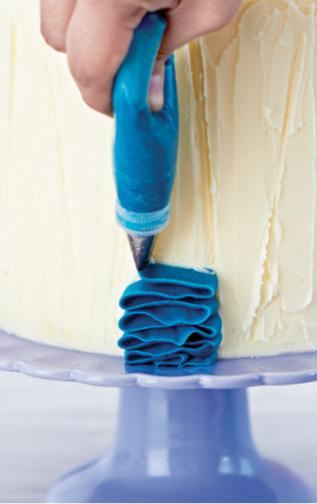
3 Place your chosen colour of buttercream in a
piping bag with small petal nozzle (Wilton 104).
Begin at the bottom and hold the piping bag
vertically with the wide part of the nozzle against
the cake. Continuously squeeze the bag in an
ascending and back and forth motion, filling the
marked triangles (C).
105
C
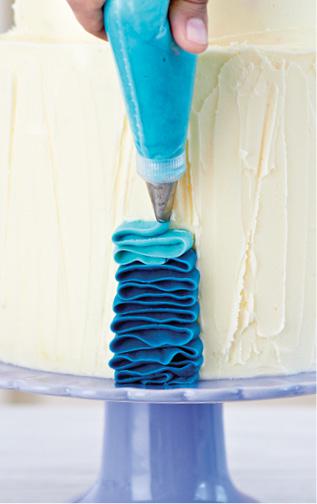
4 As you work your way up the cake, change piping
bag to the next shade of buttercream to achieve the
gradient effect (D). Make sure you follow the marks
on the cake and keep the pressure constant to avoid
wavy ruffles.
106
D
5 Change piping bag to the next shade of
buttercream and continue working up to the top of
the cake making your ruffles smaller and smaller as
you reach the tip of the triangle (E).
107
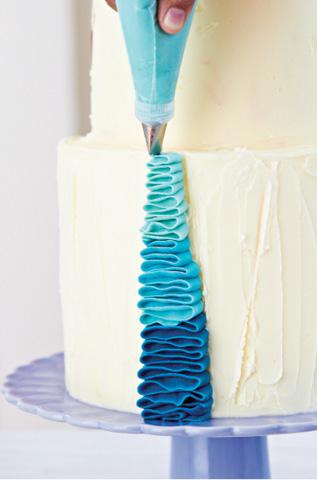
E
6 Change piping bag and start the next panel of
ruffles, this time starting with the smallest ruffles at the base of the cake and working upwards
increasing the width following the marks on the
cake. For contrast with the gradient ruffles we have