DIY Projects for the Self-Sufficient Homeowner: 25 Ways to Build a Self-Reliant Lifestyle (31 page)
Authors: Betsy Matheson
Tags: #Non-Fiction


Chickens raised for meat
usually are purchased from a hatchery or a feed store when just a day or two old. Raising them to broiler weight (4 to 5 pounds) takes six to eight weeks. During this time they will consume around 15 pounds of feed.
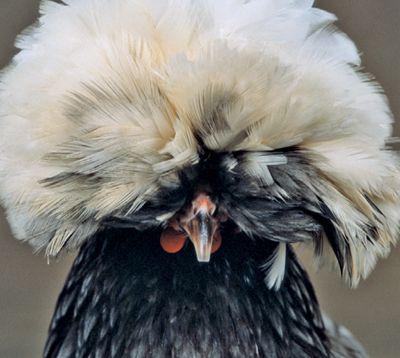
Ornamental chickens
often make good pets. They enjoy human companionship. And they are a fun and visual addition to the yard!
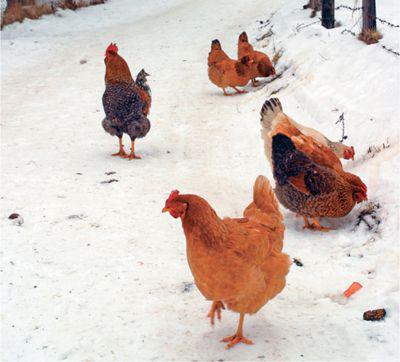
Chickens do well in cold weather
as long as they have a sheltered, insulated roosting area and their water supply is not allowed to freeze.
Building a Chicken Ark
CUTTING LIST
TOOLS & MATERIALS
Circular saw
Jigsaw
Speed square
Tape measure
Power miter saw
Drill
Galvanized wood screws (1-1/4", 2", 3-1/2")
Galvanized common nails
Hammer
Eye protection
Sander
Spacers
Galvanized finish nails
Pneumatic narrow crown stapler
Poultry netting (chicken wire)
Galvanized U-nails
Aviation snips
Pliers
Galvanized butt hinges (6)
Galvanized T-hinges (2)
Galvanized latches (4)
Door Handle
How to Build a Chicken Ark
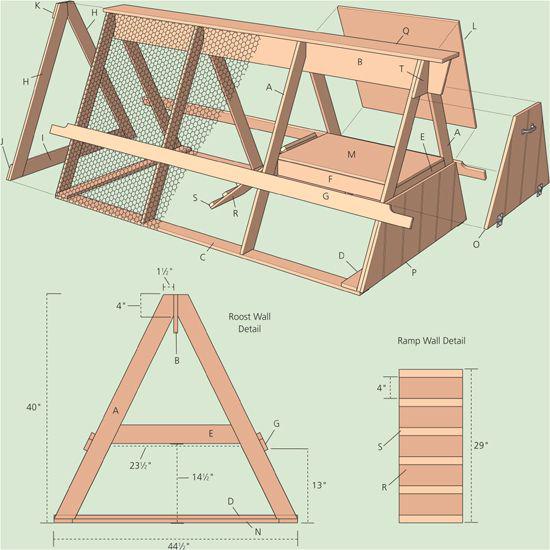
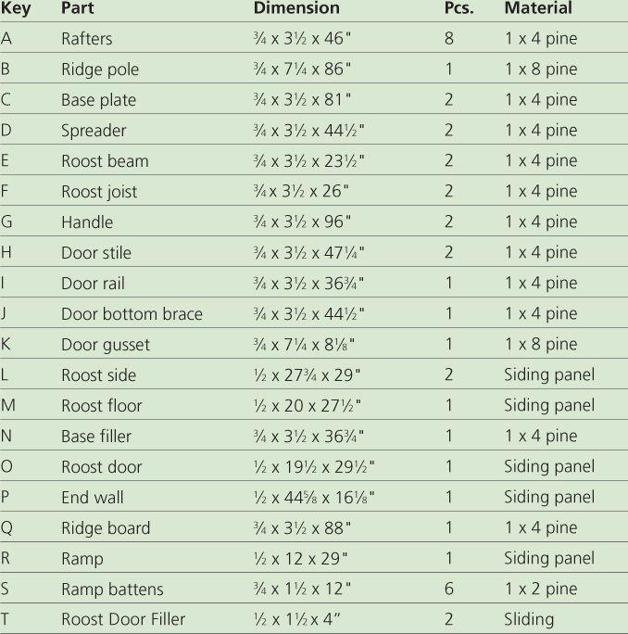
1 Make the eight rafters
by laying out one rafter according to the diagram on
page 118
. Use this rafter as a template for marking and cutting the remaining rafters from 1 × 4 pine.
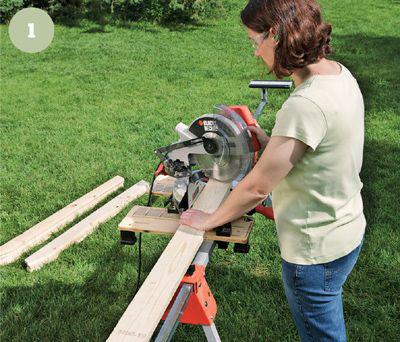
2 Cut an 8-ft. 1 × 8 to 86"
to make the ridge pole. Cut at a bevel of 10 to 15° for a decorative tail cut at the roost end. Then, attach the rafters on one side of the ridge pole with 2" deck screws driven through the ridge pole and into the rafters. The rafters should be spaced according to the diagram (26" apart in the field area).
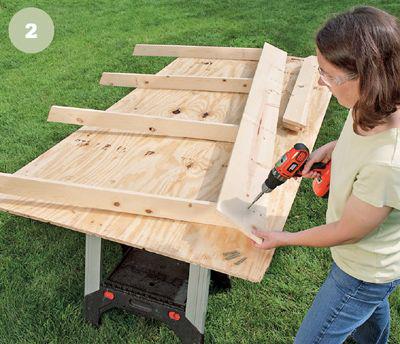
3 Attach the rafters
on the opposite side of the ridge pole by driving 3-1/2" deck screws through counterbored pilot holes in the rafter tops and into the ridge pole.
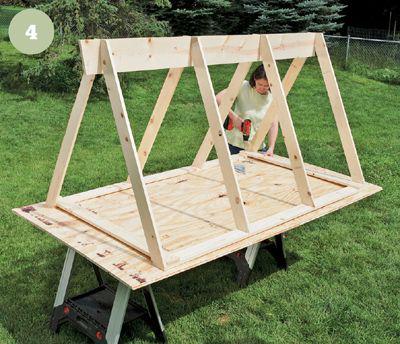
4 Attach the base plates
to the bottom ends of the rafters with deck screws. The outside edges of the base plates should be flush with the outside edges of the rafters. Then, attach the spreader at each end of the framework. Make sure the rafter legs are spaced consistently.
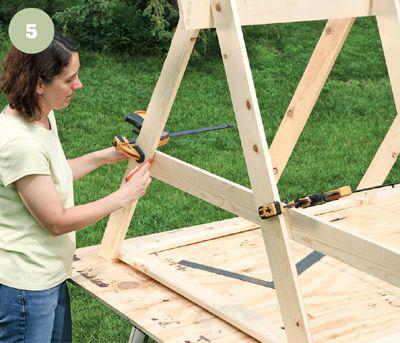
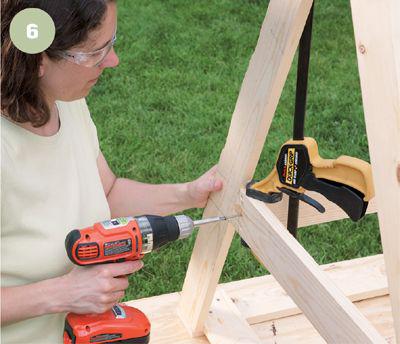
5 Attach the roost beams
between the legs of the outside rafters. The bottoms of the beams should be 14-1/2 " up from the bottom of the ark.
TIP:
Before cutting the beams to size, hold the workpiece against the rafters to make sure it will fit. Attach the beams with 3-1/2" deck screws predrilled and driven up toenail style through the bottom edges of the beams and into the rafters.