Sew What! Bags: 18 Pattern-Free Projects You Can Customize to Fit Your Needs (33 page)
Read Sew What! Bags: 18 Pattern-Free Projects You Can Customize to Fit Your Needs Online
Authors: Lexie Barnes


7.
MAKE AND ATTACH THE FLAP
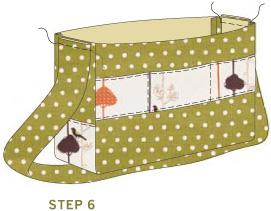
. With right sides together, pin and stitch the flap pieces together along the sides and the bottom. Trim the seam allowance, clip the corners, turn the flap right side out, and press. Line up the raw edges of the flap to the back panel and pin. Stitch the flap to the back panel. Trim excess seam allowance and press.
If you are not lining your bag, press the top edge under ½" and edgestitch. Another option is to bind the raw edges together before pressing them under (
see page
46
.).

CHAPTER8.
LINE THE BAG (OPTIONAL)
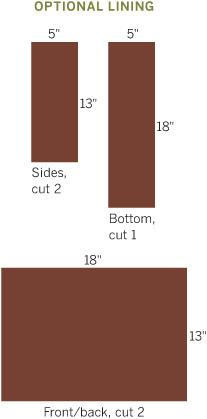
. See the DJ Bag for lining instructions. The same steps apply here. For this bag, we chose a chocolate-brown lining.
7
Organizers
ORGANIZERS ARE GREAT FUN TO MAKE
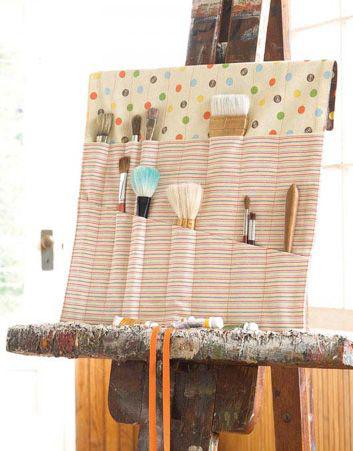
because of the endless variations you can come up with. Caddies, roll-ups, and aprons can be used in the kitchen, craft room, garden, bedroom, home office — you name it. These projects can easily be modified to fit your own supplies, tools, and body.


SKILL LEVEL
newbie
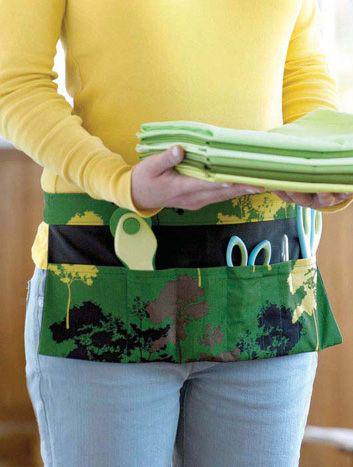
We made this apron to hold quilting supplies, but you can customize yours for any craft, hobby, or project. Be sure to choose your fabrics and pockets to suit the job. For gardening tools, you’ll want canvas or maybe oilcloth. For crochet supplies, you’ll want a variety of pocket sizes for slim hooks and skeins of yarn.
OUR FINISHED SIZE
: 8" × 16" with a 66" belt
WHAT YOU’LL NEED
⅜ yard of fabric for the apron body
½ yard of contrasting fabric for pockets and belt.
Sewing supplies (
see page
18
)
WHAT YOU’LL DO
Decide your size
Cut your fabric
Make the pocket
Assemble the apron
Make and attach the belt
