Help Me! Guide to iPhone 6: Step-by-Step User Guide for the iPhone 6 and iPhone 6 Plus (31 page)
Read Help Me! Guide to iPhone 6: Step-by-Step User Guide for the iPhone 6 and iPhone 6 Plus Online
Authors: Charles Hughes
Tags: #Encyclopedias

Note: You may move or delete the photo in the same way that you would delete text.
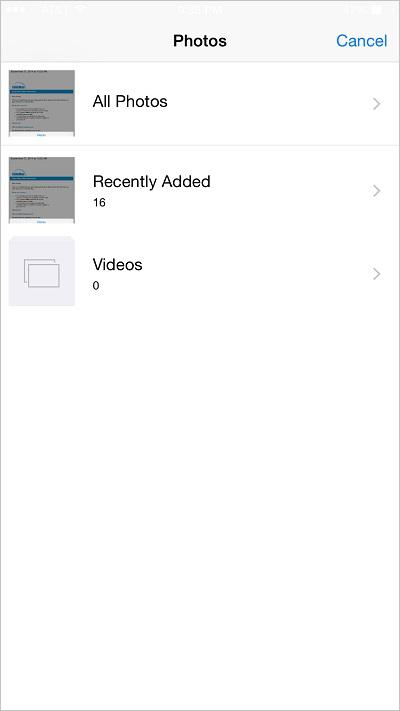 Figure 10: List of Photo Albums
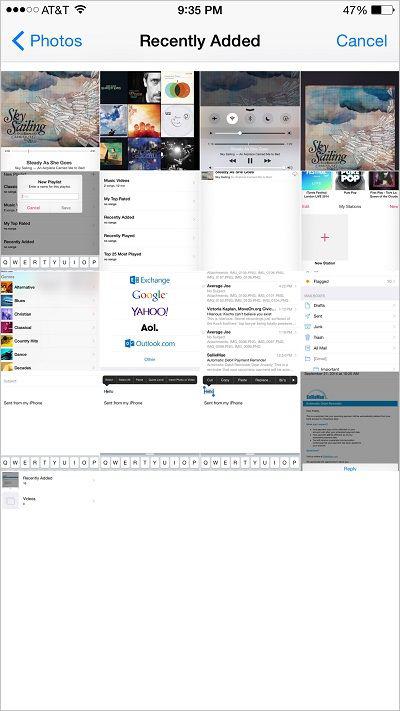 Figure 11: List of Photo Thumbnails
You may wish to organize emails into folders so that you can find them more easily. To move an email in the Inbox to another folder:
1. Touch an email in the Inbox. The email opens.
2. Touch the button. A list of available folders appears, as shown in
Figure 12
.
3. Touch the name of a folder. The selected email is moved to the selected folder. To view a list of your folders, touch
Mailboxes
at the top of the screen while viewing the Inbox.
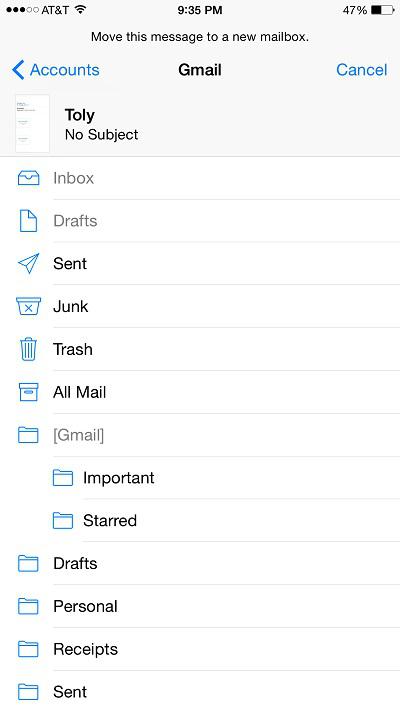 Figure 12: List of Available Folders
You may flag emails that are of the greatest importance in order to find them more quickly. This feature is especially useful if you do not have the time to read the email immediately, and wish to return to it in the near future. To flag an important email:
1. Touch an email in the Inbox. The email opens.
2. Touch the button. The Flagging menu appears, as shown in
Figure 13
.
3. Touch
Flag
. The email is flagged as 'Important'. You may also touch
Mark as Unread
to flag the email so that you remember to read it later.
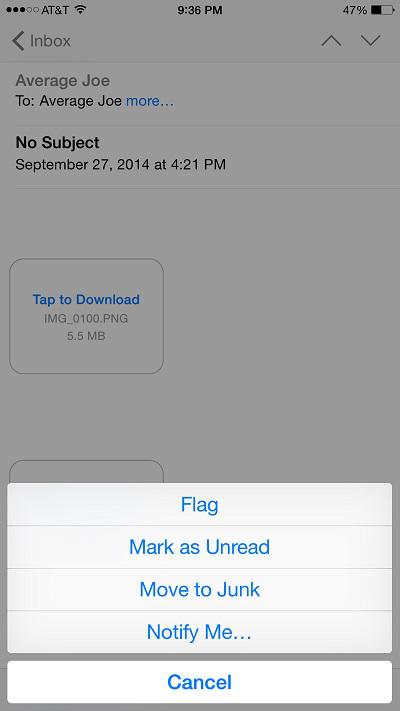 Figure 13: Flagging Menu
You may archive emails from your Inbox to free up space and improve organization. Archiving emails moves them to a folder that does not take up space on your phone. Therefore, you never need to delete an email, and can always recover it if you did not mean to delete it. You may archive as many emails as you like. To archive an email:
1. Touch the icon. The email application opens.
2. Touch and hold an email in the list and drag your finger to the left until the email disappears. The email is sent to the 'All Mail' folder, and disappears from the Inbox. You can also archive an email by touching the icon while viewing an open email.
3. Touch
Mailboxes
at the top of the screen, and then touch
All Mail
to view all emails, including those that have been archived.
The phone can set a default signature that will be attached to the end of each email that is sent from the phone. To set or change this signature:
1. Touch the icon. The Settings screen appears.
2. Touch
Mail, Contacts, Calendars
. The Mail, Contacts, Calendars screen appears.
3. Scroll down and touch
Signature
. The Signature screen appears, as shown in
Figure 14
.
4. Enter a signature, and then touch
Mail, Contacts…
at the top of the screen. The new signature is saved.
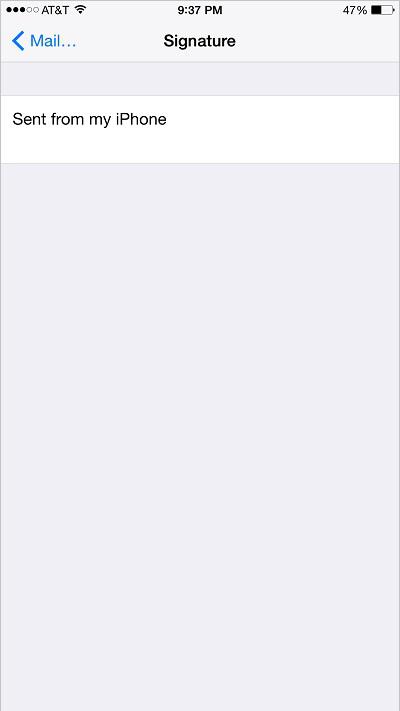 Figure 14: Signature Screen
There are two options for receiving email on the phone. The phone can check for new email only when you refresh the Inbox, or it can constantly check for email and display an alert when a new email arrives. To set the phone to either check for email at regular intervals or only when you refresh the Inbox:
1. Touch the icon. The Settings screen appears.
2. Touch
Mail, Contacts, Calendars
at the bottom of the screen. The Mail, Contacts, Calendars screen appears.
3. Touch
Fetch New Data
. The Fetch New Data screen appears, as shown in
Figure 15
.
4. Touch the switch next to 'Push'. Push is turned on, and the Mail application will constantly check for new email and alert you when a new one arrives.
5. Touch the switch next to 'Push'. Push is turned off, and the Mail application will only check for new email when you touch the top of the Inbox and slide your finger down to refresh it.