The Small House Book (9 page)
Read The Small House Book Online
Authors: Jay Shafer

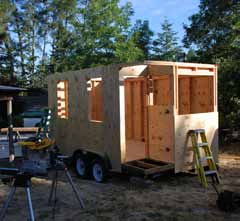
5) Put up temporary, diago-
nal braces to steady the
project while you work. Then
install the collar beams (ceil-
ing joists). The framing over
the wheel wells is supported
by horizontal headers which
are, in turn, supported by the
wheel wells.
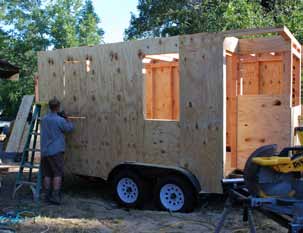
6) Screw and glue CDX plywood
to the exterior surface, and cut
openings for the windows and
door(s) with your skill saw.
72
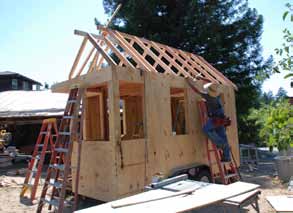
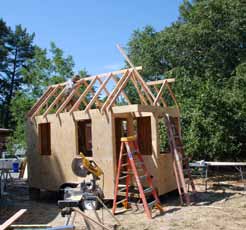
7) Frame the roof and gables.
Be sure to fasten the rafters to
the walls with metal hurricane
clips so that the entire roof does
not blow off onto the highway.
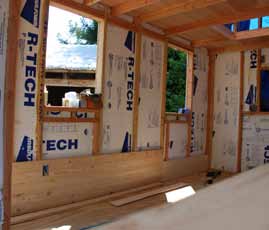
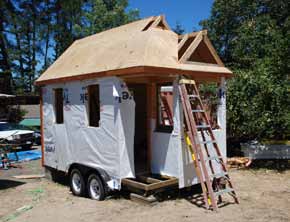
8) Staple house-wrap to the walls. Go
ahead and cut holes in the wrap if you
anticipate dry weather or if your windows
and door(s) are available for installation.
73
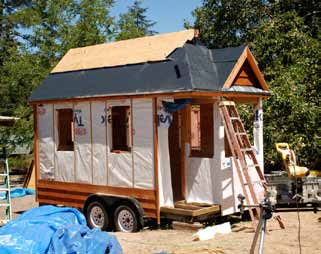
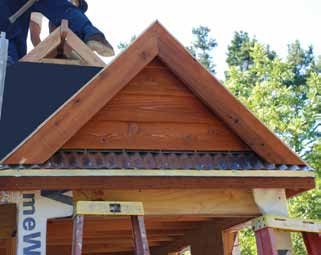
9) Waterproof the roof with
tar paper or some equivalent.
Then, run some 1/4” lath up
the sides of the house. Place
each over a stud. The chan-
nels between the strips will
serve as air spaces to vent be-
neath the siding. This would
also be a good time to trim the
corners and openings and to
put facia boards up around the
eaves and rakes.
74
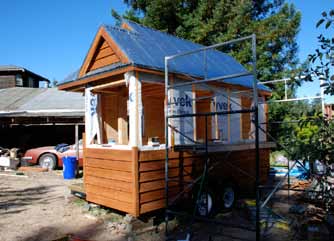
10) Use metal roofing if you
plan on moving the house
much. Asphalt shingles and
most other materials are far
more prone to blowing off.
When the roof is done, you
can put up your siding. Drive
screws through it into the
lath, and studs below. Caulk
the seams where boards
meet the wheel wells.
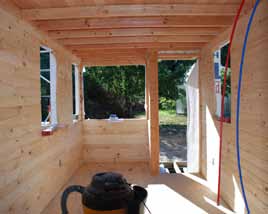
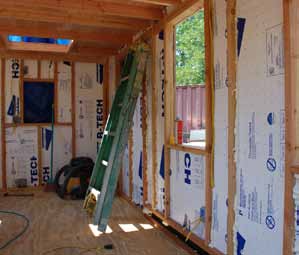
11) Fill the wall cavities with your
insulation of choice, and frame
the interior walls. Then, run the
wires and pipes for your plumb-
ing and electrical systems. I like
to hire professionals to do most
of the utilities, as these require
a whole new skill set. If your in-
sulation is water-permeable, this
would be the time to hang some
sort of vapor barrier to protect
it from potential condensation
problems.
75
