Read The New Drawing on the Right Side of the Brain Online
Authors: Betty Edwards
The New Drawing on the Right Side of the Brain (25 page)

BOOK: The New Drawing on the Right Side of the Brain
13.15Mb size Format: txt, pdf, ePub
ads
When you come to parts that impose their names on you—fingernails, for example—try to escape the words. One good strategy is to focus on the shapes of the flesh around the fingernails. These shapes share edges with the fingernails. Therefore, if you draw the shapes around the nails, you will have also drawn the edges of the fingernails—but you’ll get both right! In fact, if mental conflict sets in over any part of the drawing, move to the next adjacent space or shape, remembering the “shared edge” concept. Then, return later with “new eyes” to the part that seemed difficult. (Figure 6-22)
14. You may want to erase out the spaces around your hand. This makes the hand “stand out” from the negative spaces.
You can work up the drawing with a little shading by observing where you see areas of light (highlights) and areas of shadow appear on your posing hand. Erase out the highlights and draw in the shadows.
Fig. 6-22. Drawing the hand by using shapes and spaces.
Suggestions for practice: Using the method for Modified Contour Drawing, draw a preliminary “copy” of the object first on the Picture Plane. Then draw the object itself, using the drawing-on-plastic as a guide. Try these subjects:
A shoe, or shoes
A pair of eyeglasses
A kitchen whisk or wine bottle opener
A flower
Drawing takes many forms. In this course, you are acquiring the basic perceptual skills of drawing, comparable to learning the basic ABC’s of reading and writing.
15. Finally, when the drawing begins to become intensely interesting, like a complicated and beautiful jigsaw puzzle gradually taking shape under your pencil, you will be really drawing.
After you have finished: This is your first “real” drawing and I can assume with some confidence that you are pleased with the results. I hope you now see what I meant about the miracle of drawing. Because you drew what you saw on the flat picture-plane, your drawing appears authentically three-dimensional.
Furthermore, some very subtle qualities will show in your drawing. For example, a sense of the volume—the three-dimensional thickness—of the hand will be there, as well as the precise tension of certain muscles or the pressure of a finger on the thumb. And all of this comes from simply drawing what you see on the plane.
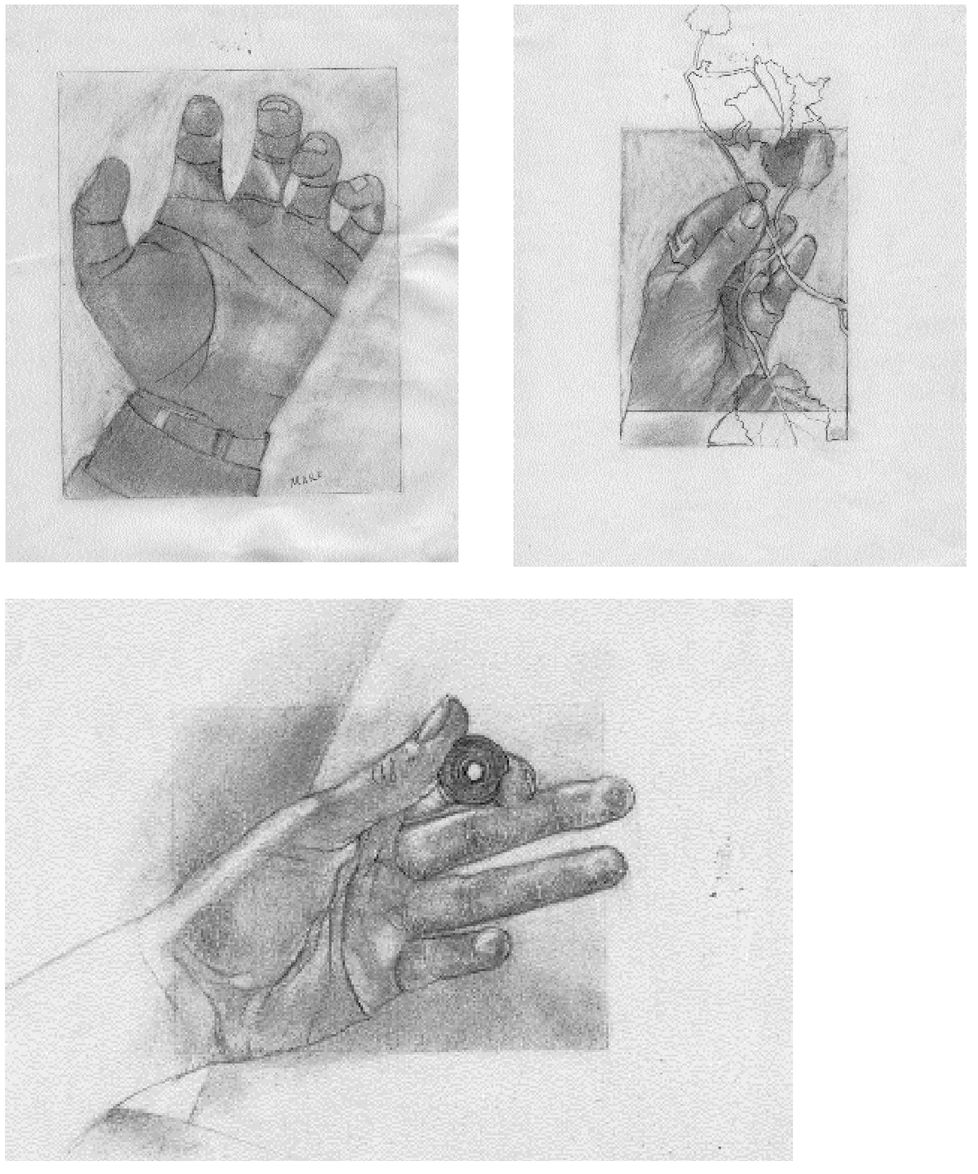
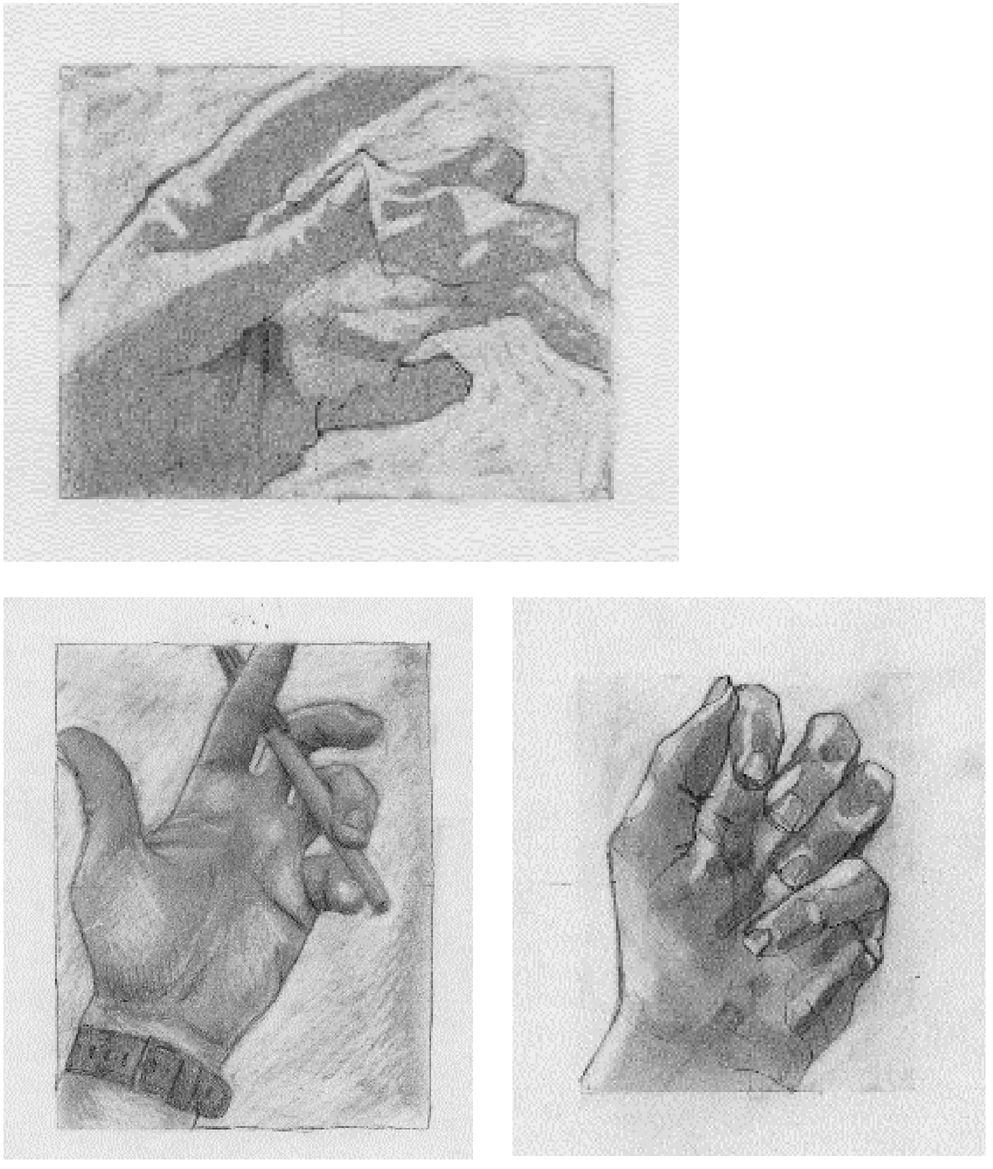
In the following group of drawings, the hands are three-dimensional, believable, and authentic. They seem to be made of flesh, muscles, skin, and bones. Even very subtle qualities are depicted, such as the pressure of one finger on another, the tension of certain muscles, or the precise texture of the skin.
I’ve included some demonstration drawings by me and others of our teaching staff. As you see, these drawings are done on a toned ground, which we’ll also be using in the next exercise.
Before we move on to the next step, think back on your mental state during the drawing of your hand. Did you lose track of time? Did the drawing at some point become interesting, even fascinating? Did you experience any distraction from your verbal mode? If so, how did you escape it?
Also, think back on this basic conception of the picture-plane and our working definition of drawing: “copying” what you see on the picture-plane. From now on, each time you pick up the pencil to draw, the strategies learned in this drawing will become better integrated and more “automatic.”
You might want to do a second Modified Contour Drawing of your hand, perhaps this time holding some complex object: a twisted handkerchief, a flower, a pinecone, a pair of eyeglasses. For this drawing, you can again work on a lightly “toned” ground.
So far, we have located some gaps in the abilities of the left hemisphere. It has problems with mirror images (as in the Vase/Faces drawing). It can’t deal with upside-down perceptual information (as in the upside-down Stravinsky drawing). It refuses to process slow, complex perceptions (as in the Pure and Modified Contour drawings). We used those gaps to give R-mode a chance to process visual information without interference from L-mode.
The next lesson on negative space is designed to reestablish your grasp of the unity of spaces and forms in composition, which you had as a child.
7
Perceiving the Shape of a Space: The Positive Aspects of Negative Space
I
N THIS CHAPTER, we’ll take up the next component skill of drawing—the perception of negative spaces. You will use your new skills of seeing and drawing complicated edges in order to draw the edges of negative spaces.
N THIS CHAPTER, we’ll take up the next component skill of drawing—the perception of negative spaces. You will use your new skills of seeing and drawing complicated edges in order to draw the edges of negative spaces.
This exercise will be a stretch for some, a joy for others. There is an antic or whimsical quality to seeing negative spaces. In a sense, you are seeing what is not there. In American life, it is often a new experience to realize that spaces are important. We tend to focus on objects; we are an objective culture. In other cultures, working “within the space of a problem” is common practice. My aim is to make spaces become “real” for you and to provide a new experience in seeing.
In this chapter, you will also learn to find and use a “Basic Unit” that will enable you to correctly size the first shape you draw. And you will dip into lights and shadows by working on a toned ground.
Let’s quickly review the five basic skills of drawing. Remember, these are perceptual skills: The perception of
What are negative spaces and positive forms?• Edges (line of contour drawing)
• Spaces (negative spaces)
• Relationships (proportion and perspective)
• Lights and shadows (shading)
• The gestalt (the “thingness” of the thing)
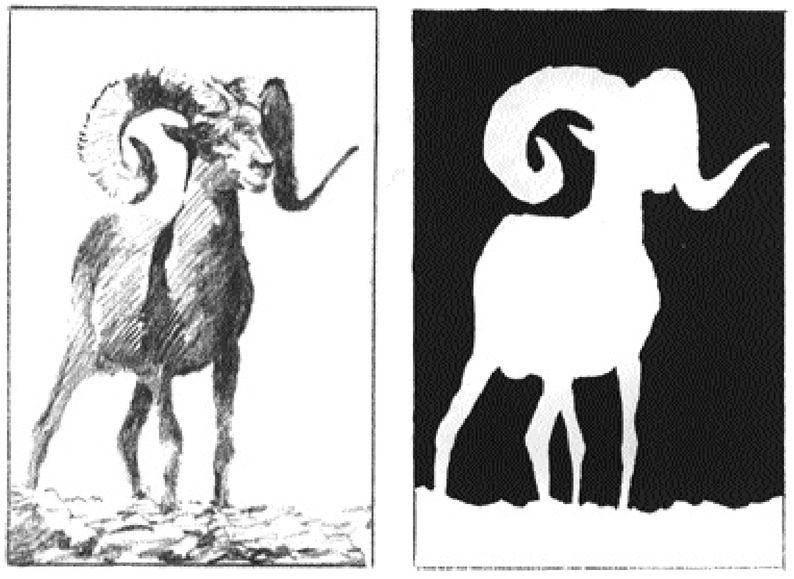
Two terms traditionally used in art are “negative spaces” and “positive forms.” In the drawings of the bighorn sheep, for example, the sheep is the positive form and the sky behind and ground below the animal are the negative spaces.
The word “negative” in negative spaces is a bit unfortunate because it carries, well, a negative connotation. I have searched in vain for a better term, so we’ll stick with this one. The terms
negative spaces
and
positive forms
have the advantage of being easy to remember and they are, after all, commonly used in the whole field of art and design. The main point is that negative spaces are just as important as the positive forms. For the person just learning to draw, they are perhaps more important!

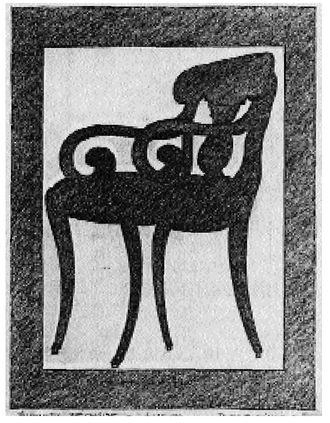
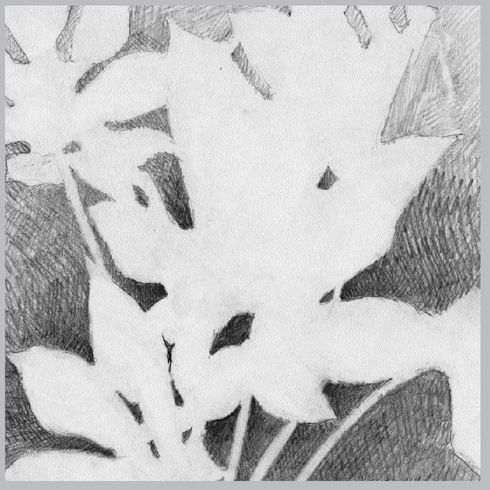
Fig. 7-1. Jeanne O’Neil.
“Expression to my way of thinking does not consist of the passion mirrored upon a human face or betrayed by a violent gesture. The whole arrangement of my picture is expressive. The place occupied by the figures or objects, the empty spaces around them, the proportions, everything plays a part.”
—Henri Matisse
“Notes d’un peintre,”
1908
“Notes d’un peintre,”
1908
When a person just beginning in drawing tries to draw a chair, that person knows too much, in an L-mode sense, about chairs. For example, seats have to be big enough to hold a person; all four chair legs are usually all the same length; chair legs sit on a flat surface, and so forth. This knowledge does not help, and in fact can greatly hinder, drawing a chair. The reason is that, when seen from different angles, the visual information may not conform to what we know.
BOOK: The New Drawing on the Right Side of the Brain
13.15Mb size Format: txt, pdf, ePub
ads
Other books
Seductress by Betsy Prioleau
Two's Company by Jennifer Smith
Attracting Your Extraordinary Love by Ricky Cohen
Taxi by Khaled Al Khamissi
The Road Warriors: Danger, Death, and the Rush of Wrestling by Joe Laurinaitis
Two Friends by Alberto Moravia
The Accidental Highland Hero by Terry Spear
Blood Will Tell (Warriors of Ankh #1) by Samantha Young
Too Hot to Handle by Victoria Dahl
Not Quite a Lady by Loretta Chase